Press-on nails are a fantastic choice for a quick and affordable manicure, allowing you to effortlessly experiment with different styles. With the proper technique, you can enjoy a flawless and durable manicure that looks professionally done!
If you are looking for such methods, you are in the right place. This article provides a complete step-by-step guide on how to apply press-on nails, using both adhesive tabs and nail glue. Even if you are a beginner, you will soon be able to put on your press-on nails at home like a pro! Keep reading to discover the secrets to a perfect application.
Read Also:
What Are Press-On Nails? How They Work, How Long They Last & Who They’re For
How to Remove Press-On Nails Without Damage
7 Proven Tips to Make Press-On Nails Last Longer
What You'll Need to Apply Press-on Nails
Before you get started, gathering all your nail tools will help make the application process go smoothly. Here is everything you will need.
- Cuticle stick or cuticle pusher
- Nail file and buffer
- Cotton pads or lint-free wipes
- Double-sided nail adhesive tabs or nail glue
- Press-on nails in multiple sizes to fit every finger
How to Apply Press-on Nails Step by Step
Once you have all your supplies laid out, you're ready to start the application process. Just follow the steps below and get started!
Step 1. Prep Your Nails
Properly preparing your natural nails is the most important secret to a long-lasting and flawless press-on manicure. Follow this essential first step to ensure the adhesive can work effectively.
- Push back cuticles: Gently push them back with a cuticle stick or a dedicated pusher. This step cleans up your nail bed and helps the press-on nail sit more naturally and securely.
- File and shape your nails: You can use a nail file and buffer from Beetles to even out the edges, and then gently roughen the surface of each nail.
- Clean your nails: Take a cotton pad or a lint-free wipe with a bit of alcohol or nail polish remover. Then swipe it over each nail to remove any oil and dust.

Step 2. Put on Press-on Nails
Now that your natural nails are prepped and clean, you can start applying your new set!
- Match each press-on nail to your nails: Lay out the press-on nails and find the perfect size for each finger. Having the right size is very important for a natural look and a strong hold. If you are debating between two sizes, choose the smaller one so it does not overlap your skin.
- Apply adhesive tabs or nail glue: For short-term wear, like for a party or a special occasion, consider using adhesive tabs. Ensure it covers the entire surface without any bubbles. If you want your manicure to last for 2 to 3 weeks, nail glue is the better choice. When using glue, apply a thin layer to your natural nail and the back of the press-on nail. Make sure you make it thin; otherwise, it will flood on the cuticle.
- Put on press-on nails: Holding the press-on nail at a 45-degree angle, align it with your cuticle. Slowly lower it down onto your natural nail. Press firmly down on the nail for 10 to 30 seconds to make sure it has a strong bond. If you need to, you can use a nail file to slightly adjust the shape or length of the press-on nail after it is on.
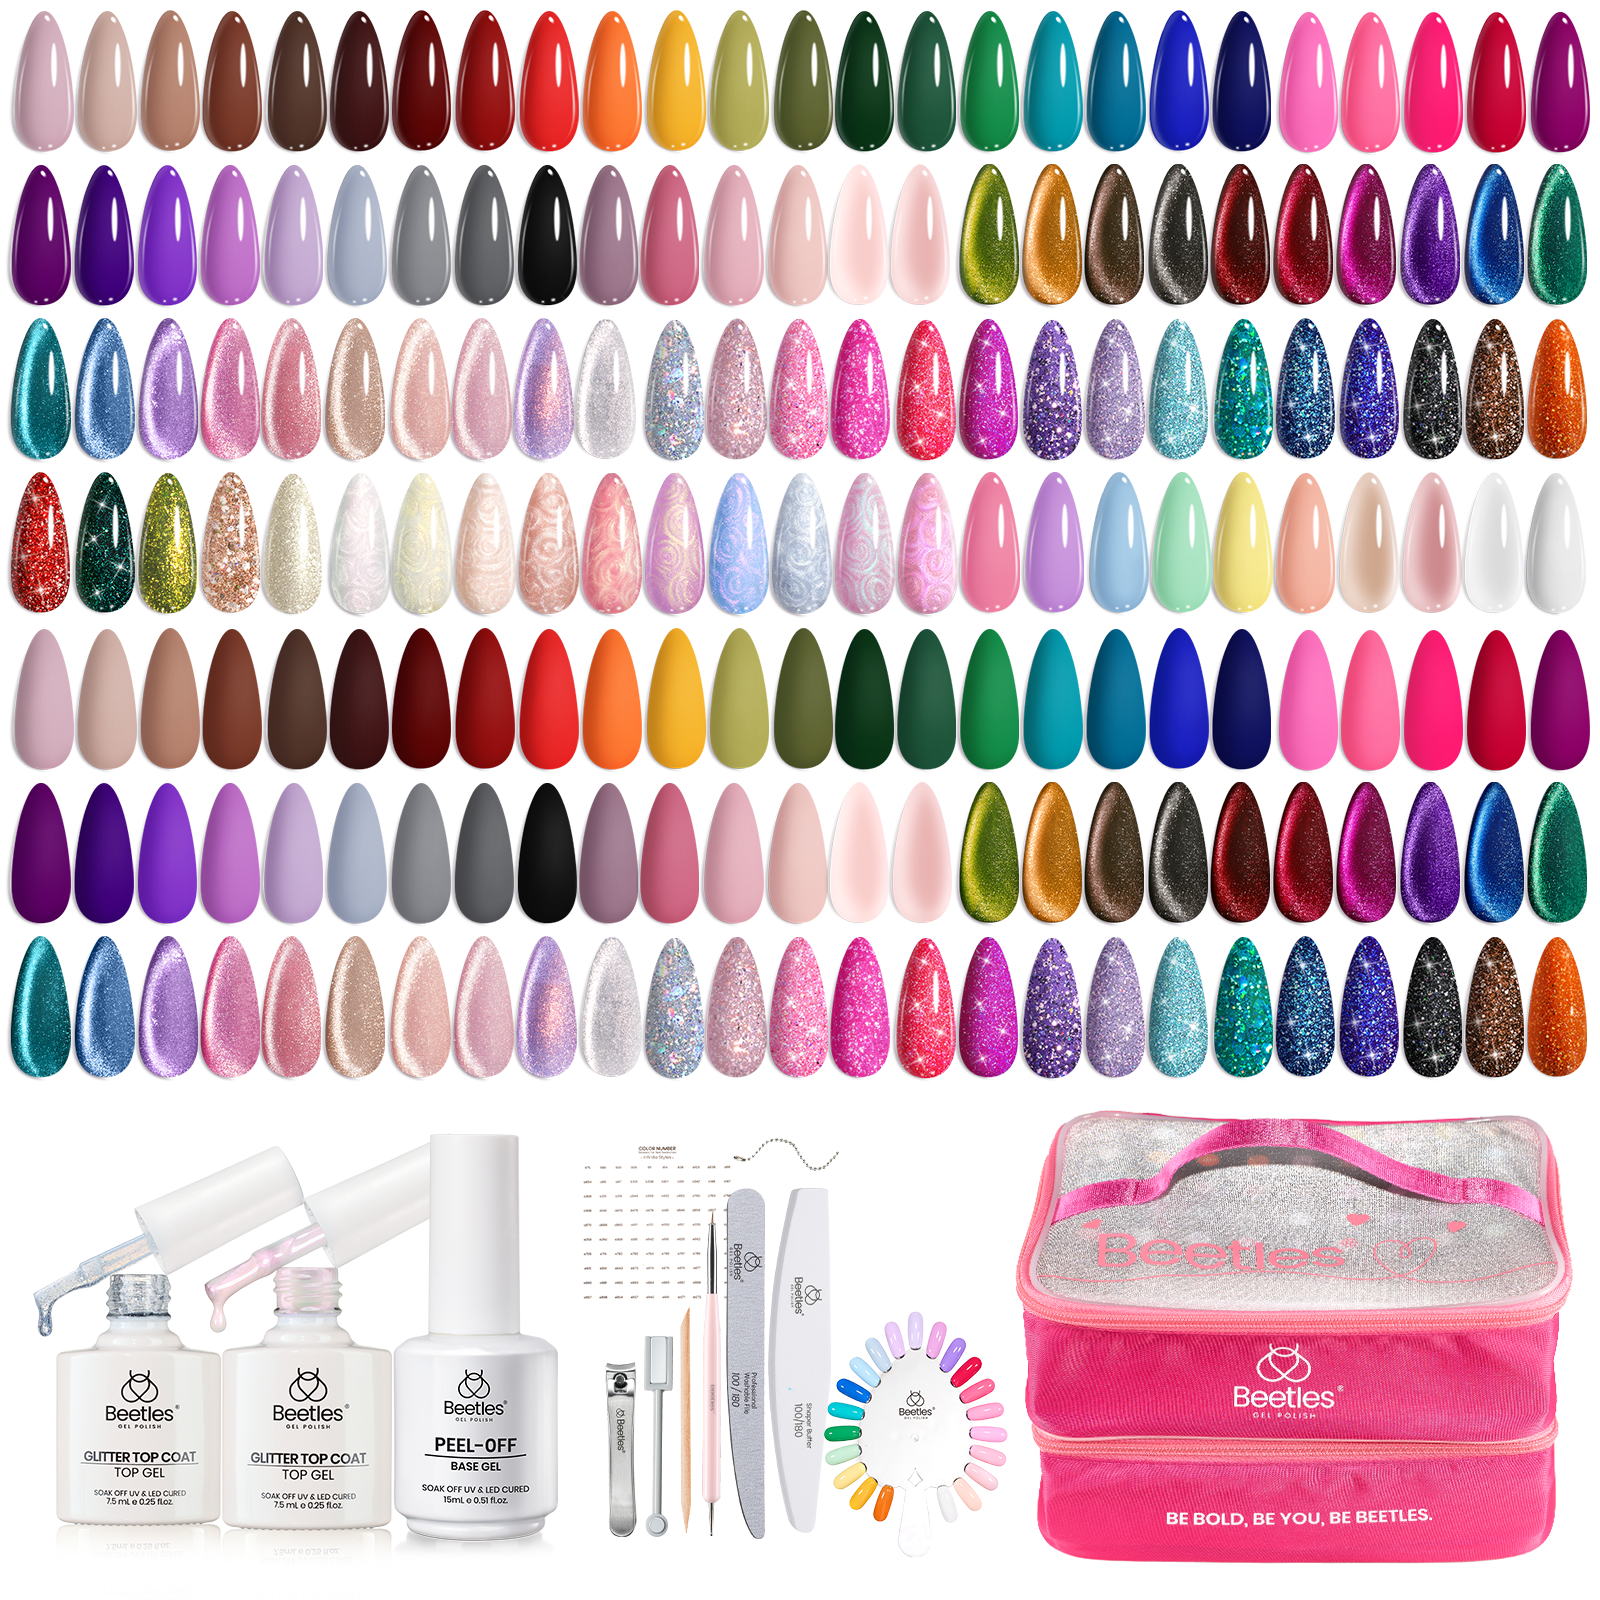
For a great experience, many press-on nail kits from brands like Beetles Gel Polish come with everything you need. They offer a wide range of styles and shapes, including classic French tips, almond, square, and even Halloween nails. The kits are also made in a variety of sizes to ensure a perfect fit. Some press-on nail kits even include all the tools you need, like a file, cuticle sticks, and both adhesive tabs and glue.

Step 3. Complete the Final Touch
Given that all your press-on nails are on, a few final touches will help you achieve a flawless finish and make sure your manicure lasts. These simple steps can make all the difference.
- (Optional) Add your designs: You can add a clear top coat for extra shine and protection, or even place small nail stickers or apply nail stampers on top for a unique look.
- Apply cuticle oil: To make your manicure healthy, add some cuticle oil and gently massage the nail until it is completely absorbed.
- Wait for a while: Wait before you get your hands wet or do any heavy work. If you used adhesive tabs, it is best to wait at least 2 hours. If you used nail glue, you should wait at least one hour.

FAQs About Applying Press-on Nails
How to file the press-on nails to fit my fingers?
It is similar to filing your natural nails. Using a nail file, gently work around the perimeter of the press-on nail, filing a little bit from each side. It is best to go slowly and check the fit against your finger often.
For your convenience, you can try the 720pcs short almond press-on nails kit or the 576pcs short squaval press-on nails kit from Beetles. These kits offer a variety of sizes and colors to let your fingers shine with the perfect fit.
How to apply press-on nails to last longer?
To make press-on nails last longer, proper nail prep is essential. Using nail glue is recommended for a strong and long-lasting hold. Make sure you avoid water for 1-2 hours to let the glue fully cure.
Perfect Your Press-on Nails Manicure with Beetles
With the right tools and a little practice, applying press-on nails at home is simple and effective. By properly preparing your nails and using the right adhesive, you can achieve a beautiful and salon-quality look that lasts for weeks. You can follow the steps in this guide to get a perfect manicure every time!
If you are looking for high-quality products, you can find a wide variety of press-on nails with Beetles, along with all the nail tools. All the products can also be found at Beetles Amazon Store and Beetles Temu Store.