Prep Like a Pro: The Essential Guide to Nail Prep Tools
A beautiful manicure doesn’t start with color. It starts with preparation. The difference between a nail design that lasts two days and one that lasts two weeks? It’s almost always in the prep.
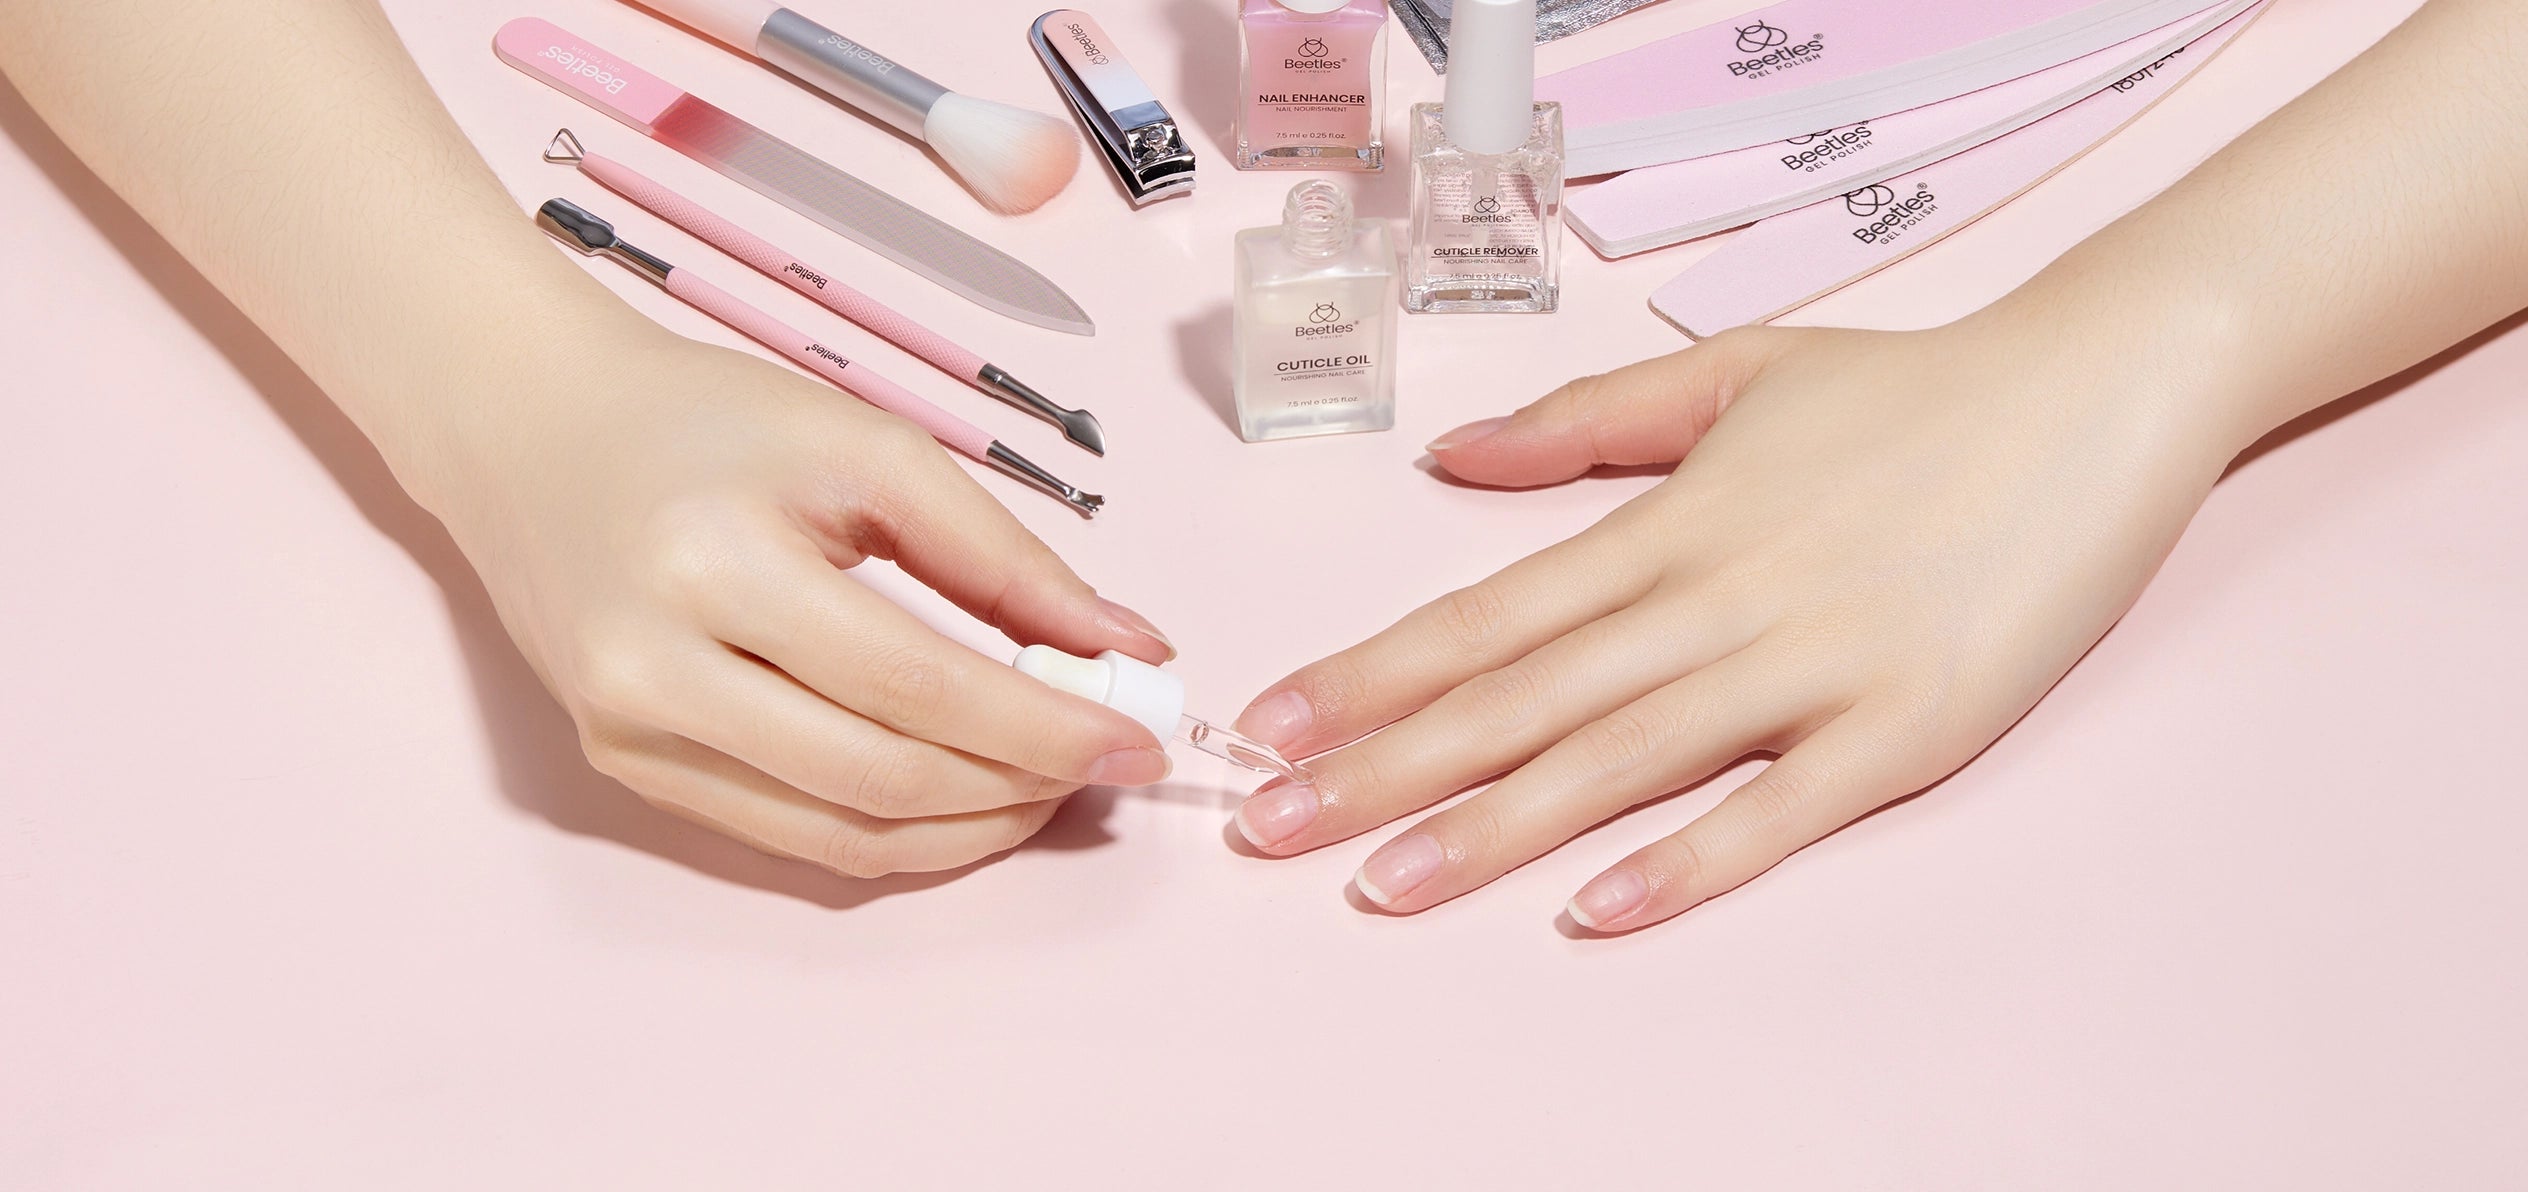
Before any gel or polish touches your nails, a solid preparation routine sets the foundation for adhesion, longevity, and nail health. And the right tools make all the difference—whether you’re a beginner at home or a seasoned professional.
In this guide, we’ll walk you through the must-have nail prep tools every nail art lover needs. Consider this your pre-manicure toolkit.
Why Nail Prep Matters
Skipping or rushing through prep is one of the most important reasons gel nail designs lift, chip, or peel early. Proper prep:
- Removes natural oils and dust that prevent adhesion
- Creates a smooth, even surface for gel nail polish
- Shapes nails for a clean, professional look
- Protects natural nails from damage
With the right tools, prep becomes quick, easy, and even enjoyable.
The Essential Nail Prep Toolkit
Nail Clippers & Scissors – The First Shape
Before filing, you need to set the length. A good pair of nail clippers or curved scissors trims nails cleanly without splitting or cracking.
Beetles Picks:
- Sharp, stainless steel blades
- Ergonomic grip for control
- Different sizes for fingers and toes

Nail Files – Shape & Smooth
Files are the workhorse of nail prep. They define your nail shape, smooth rough edges, and create the ideal surface for adhesion.
Grit Guide for Prep:
- 180–240 grit – Perfect for natural nails; gentle yet effective
- 100–150 grit – For thicker nails or light filing on extensions
- 240+ grit – For buffing and final smoothing
Beetles Picks:
- Ideal for shaping natural nails
- Gentle on the nail plate
- Durable and washable
- Suitable for all skill levels
Buffer Blocks – The Secret to a Smooth Canvas
Buffers smooth out ridges and create a slightly matte surface that helps gel adhere. They also add a natural shine if you’re going polish-free.
Pro tip: Use a fine-grit buffer (240/400) and avoid over-buffing, which can thin the nail plate.
Cuticle Pusher – Define the Edge
Pushing back cuticles is essential for a clean, long-lasting manicure. A stainless steel pusher is durable and easy to sanitize; orange wood sticks are gentle and disposable.
Why It Matters:
- Prevents polish from lifting at the cuticle area
- Creates a larger canvas for color
- Improves overall nail shape
Beetles Picks:

Tools & Devices
Beetles Dual-End Nail Pusher & Cuticle Cleaner 14mm Serrated Edge & 5mm Curved Blade$19.99
Cuticle Nipper – Precision Trimming
After pushing, use a sharp cuticle nipper to remove dead, hanging skin (never live tissue). This gives nails a refined, elegant finish.
What Makes A Good Nipper:
- Ultra-sharp, bevelled blade
- Spring-loaded for easy control
- Fine tip for detailed work
Beetles Picks:
- Sharp yet safe cutting edge
- Professional-level finish
- Essential for salon-quality prep at home
Dust Brush – Clean Away Debris
Filing and buffing create fine dust that must be removed before applying any product. A soft, wide dust brush sweeps away particles without leaving residue.
Pro tip: Use a brush rather than your fingers or a cotton pad, which can leave lint or oil behind.
Electric Nail Drill – Symbol of Professional‑Level
An electric nail drill isn’t just for removal—it’s also a powerful prep tool. With the right bits, it can gently buff the nail surface, clean under the free edge, and even refine cuticles.
Best Bits for Prep:
- Mandrel with fine sanding band – Lightly roughens the nail plate
- Small cone or flame bit – Cleans debris from sidewalls and cuticle area
- Barrel bit – Smooths surface irregularities
Beetles Picks:
- 20 adjustable speeds (3,000–16,000 RPM)
- Lightweight, cordless, and low vibration
- Perfect for both prep and finishing
Nail Dehydrator & Primer – The Adhesion Boosters
These prep liquids remove surface oils and create a bond between your natural nail and the base coat. They are the final step before applying gel.
- Dehydrator – Removes moisture and oil
- Primer (non‑acid or acid) – Promotes adhesion; non‑acid is gentler for natural nails
Pro tip: Avoid touching your nails after cleansing—any oil from your skin can ruin adhesion.
Beetles Picks:

Essentials
Nail Dehydrator and Primer Set - Acid Free HEMA Free Natural Prep for Long-Lasting Nails$15.99 $19.99

How to Prep Nails Step‑by‑Step
- Trim – Use clippers to set length.
- File – Shape the free edge with 180‑grit file.
- Push cuticles – Gently push back with steel pusher.
- Trim cuticles – Remove dead skin with nippers.
- Buff – Lightly buff the nail surface to remove shine.
- Dust – Brush away all debris.
- Cleanse – Wipe with alcohol or cleanser to remove oils.
- Dehydrate & prime – Apply dehydrator, then primer.
Now your nails are perfectly prepped—ready for base coat and color.
Good Prep = Great Results
Preparation is the invisible foundation of every beautiful manicure. The time you spend on prep directly affects how long your gel polish lasts and how healthy your nails remain.
Investing in quality prep tools isn’t just about convenience—it’s about giving your nails the care they deserve before the color even begins.
Simple prep checklist:
✔ Nail clippers
✔ Files (180–240 grit)
✔ Buffer block
✔ Cuticle pusher & nipper
✔ Dust brush
✔ Dehydrator & primer
✔ (Optional) Electric drill for advanced prep
With the right tools in hand, you’re ready to create a flawless, long‑lasting manicure every single time.
Ready to upgrade your nail tool collection?
→ Explore all Beetles tools and kits on Beetles Official Website or Beetles Amazon Store.